How to Landscape Model Train Layouts

A bare baseboard can make even excellent trackwork look unfinished. If you are figuring out how to landscape model railway layouts, the key is not piling on scenic materials as quickly as possible. Good landscaping starts with the same question as good railway design - what sort of place is this meant to be?
That sounds obvious, but it is where many layouts either come together or fall apart. A British branch line in late autumn, a busy US freight district, an alpine narrow gauge route and a compact industrial shunting plank all need different scenic treatment. The best layouts do not simply add grass, trees and a tunnel portal. They create a believable setting around the railway so the track feels as though it belongs there.
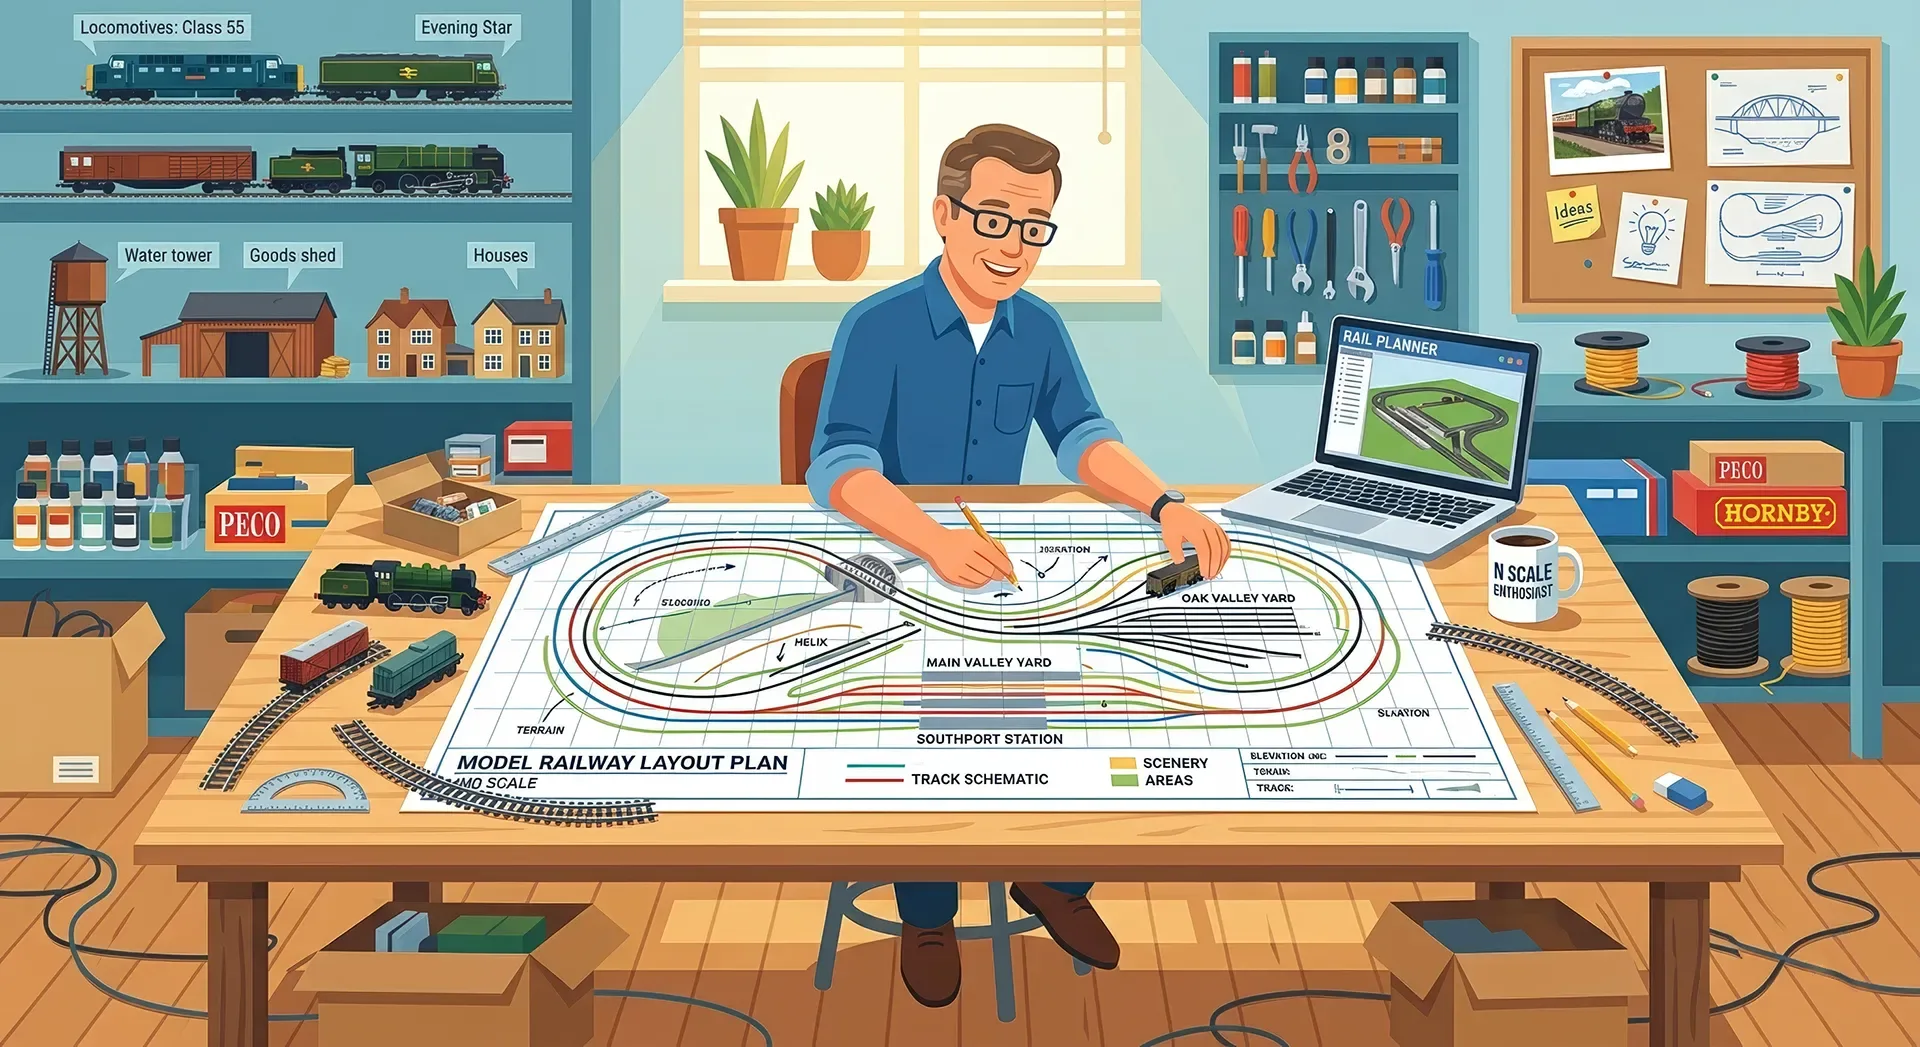
How to landscape model railway layouts with a clear scenic plan
Before opening the scatter tub, decide on four basics: location, era, season and level of wear. Those choices affect almost every scenic decision you make. Fresh green static grass might suit a spring rural scene, but it can look far too bright on a steam-era colliery layout. Likewise, neat roads and spotless ballast rarely suit a hard-worked industrial line.
It helps to treat the layout as a collection of scenic zones rather than one surface to cover. A station area, embankment, cutting, field edge and yard can all sit close together, but each has different textures and colours. Real landscapes are uneven and varied. If every inch of your board gets the same brown paint and green scatter, it will look flat no matter how much detail you add later.
Reference photos matter here. Study real railways, not just other model layouts. Look at how weeds gather near sidings, how verges thin out beside footpaths, how banks are stained under bridges and how earth shows through where maintenance crews or livestock have worn the ground back.
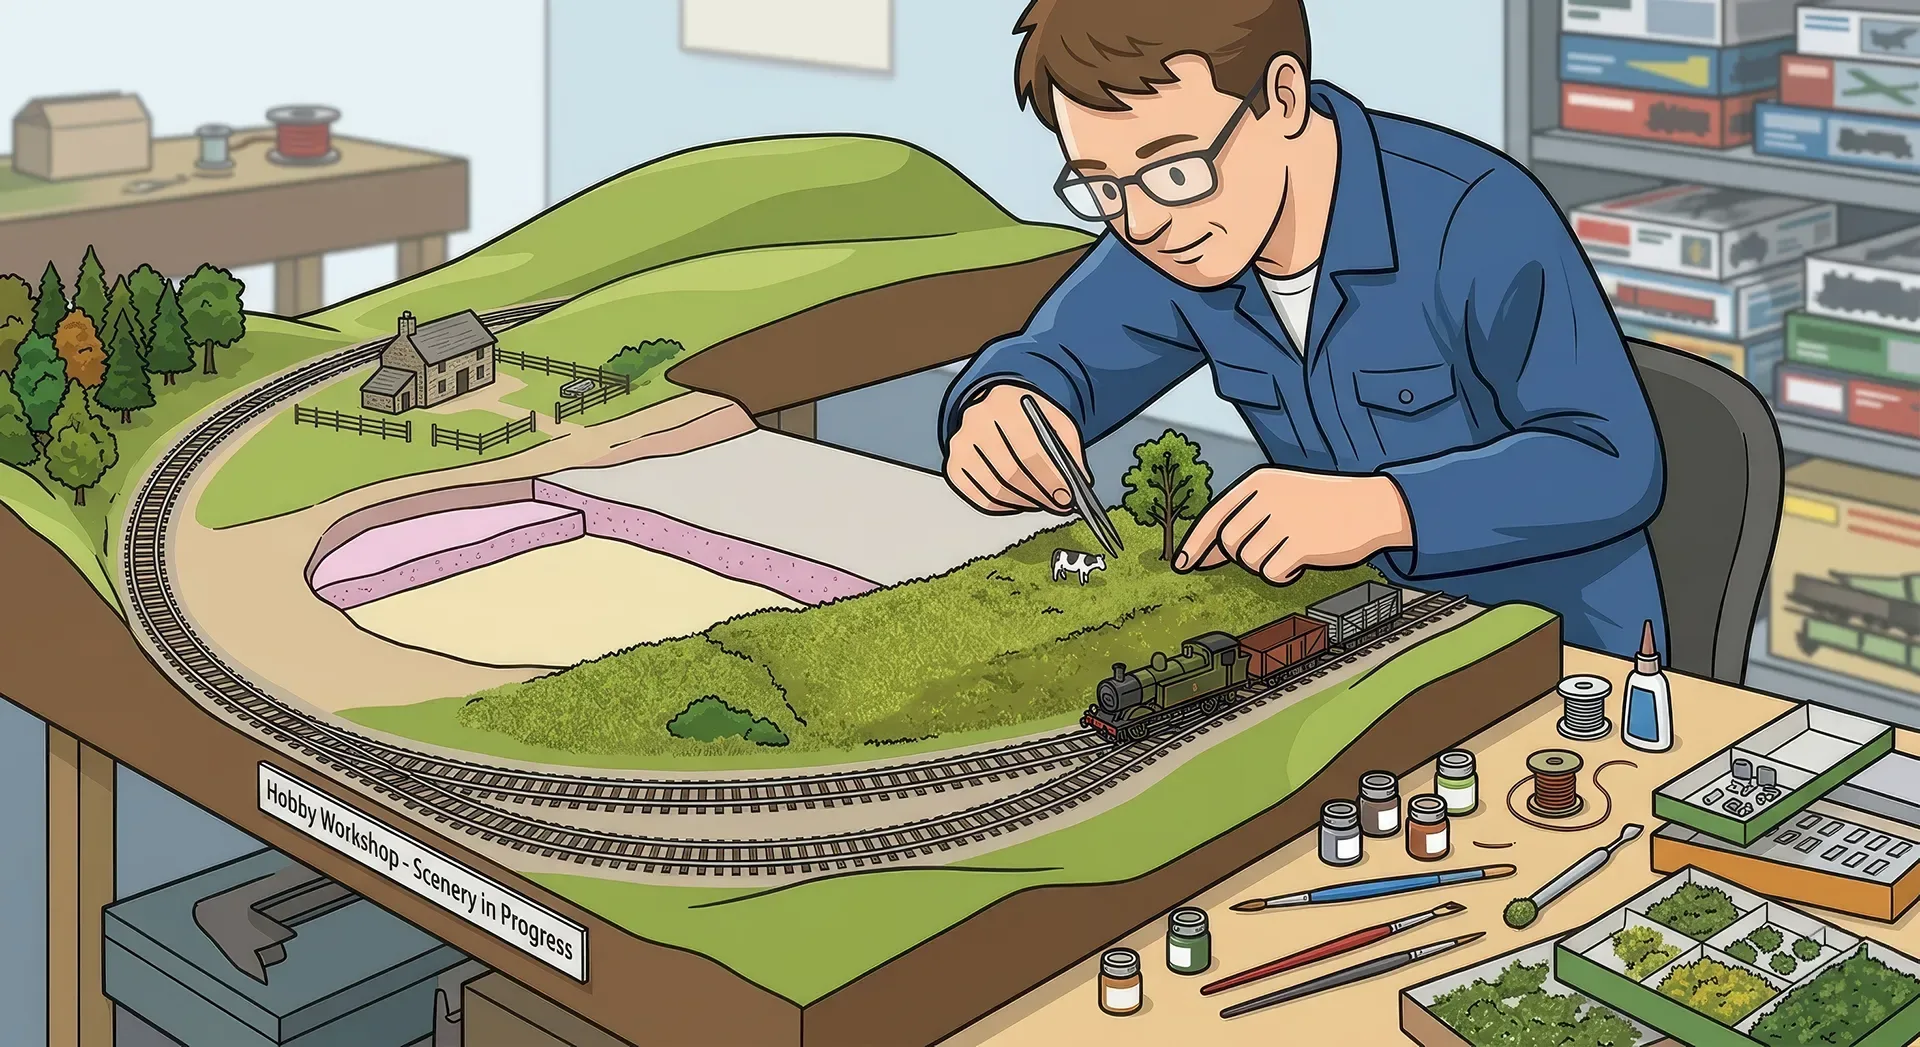
Build the landforms before adding detail
The shape of the land does more for realism than expensive scenic products ever will. Even a compact model railway benefits from some rise, fall and contour. Completely flat boards are easy to build on, but they rarely resemble the real world unless you are modelling a specific flat landscape.
For hills, embankments and cuttings, use methods that fit your layout style and weight limits. Foam board, insulation foam, plaster cloth, card formers and lightweight fillers all work. There is no single correct method. If you exhibit layouts, weight may matter more. If you want the freedom to carve drainage ditches and rock faces, foam may suit you better.
Aim for gentle transitions. Sharp scenic changes are one of the easiest ways to reveal the model. A cutting should ease into the surrounding ground. An embankment should taper naturally. Roads should sit within the land, not on top of it like strips laid afterwards.
Once the forms are built, paint the base surface in earthy tones before adding any scenic cover. This simple step saves you later. Thin patches in grass or ballast look far less distracting when the ground beneath is already the right colour.
Ground cover is about layers, not one material
This is where many layouts become either convincing or toy-like. Real ground is messy. It contains bare earth, dead grass, fresh growth, stones, weeds and damp patches, often in a very small area. To capture that, build texture in layers.
Start with the broadest base - earth colours, fine turf, or a low-key scatter mix that matches your setting. Then add variation. Blend different tones rather than applying one uniform green. In smaller scales especially, contrast needs to be controlled. Strongly different colours can make the scene look coarse and oversized.
Static grass gives the best results when used selectively and in mixed lengths. A lawn-like finish across the whole layout rarely suits railway land. Trackside areas tend to be rough, patchy and uneven. Sidings may have sparse growth between sleepers, while little-used branches might have much heavier encroachment. It depends on era, traffic and maintenance standards.
Bushes, scrub and weeds should also reflect railway use. Around busy stations, keep growth more restrained. Near disused sections, retaining walls or back fences, let vegetation spread and break up straight lines. Scenic realism often comes from these untidy edges.
Ballast, soil and scenic blending
Ballast is part of the landscape, not a separate job. If it looks too clean or stops too abruptly at the shoulder, the railway will feel dropped into the scene instead of embedded within it.
Choose ballast size carefully for your scale. Oversized ballast is one of the quickest ways to spoil otherwise fine work. After laying and weathering it, blend its edges into surrounding soil, cinders or scrub. Yards and industrial trackage often benefit from dirt, ash and oily staining rather than pristine stone shoulders.
The same applies to transitions around structures. Goods sheds, engine facilities and lineside huts should sit into the earth with signs of use around them. Add worn footpaths, muddy patches, coal dust, cinders or vehicle tracks where appropriate. Scenery looks more believable when the people using the railway have clearly affected the ground around it.
Roads, water and hard surfaces need restraint
Roads are easy to overdo. They should usually be flatter in colour and less sharply edged than beginners expect. A pure black road almost never looks right. Better results come from muted greys and browns, with subtle weathering and soft verges.
Think about how roads meet the railway and surrounding land. Crossings, yard entrances and station approaches need signs of traffic. Add slight discolouration where tyres pass repeatedly and a little dirt where the road edge breaks down into the verge.
Water features can be layout highlights, but only if they fit the scene. A canal basin, drainage ditch, pond or stream can add depth and reflection, yet they also draw the eye. If the water is there only because it seemed like a good scenic idea, it may distract from the railway rather than support it. Small, believable water features usually work better than ambitious ones with no clear purpose.
Structures and scenery should support each other
A station, factory, signal box or row of houses should never feel like it was placed on top of finished scenery as an afterthought. Sink structures into the setting. Add foundations, slight ground build-up, fencing, weeds, drains and the little surface clues that suggest a building has been there for years.
This is especially important in urban and industrial layouts. Those scenes are not just about buildings. They are about surfaces and edges - cracked yards, retaining walls, clutter, soot, patched tarmac, stacked materials and neglected corners. Rural scenes have their own version of this language: hedge lines, rutted gateways, fence repairs, ditches and uneven grazing.
If you document your builds on a community platform such as ModelRailwayLayouts.com, these are the details that often stand out in progress photos. They show that the scene has been thought through, not merely decorated.
How to landscape model railway layouts without overfilling them
One of the hardest skills in scenic work is knowing when to stop. Because scenic materials are enjoyable to apply, it is easy to keep adding more. More bushes, more figures, more colours, more weathering. Sometimes that helps. Often it blurs the scene.
Give the eye somewhere to rest. Not every corner needs a cameo. Not every embankment needs six scenic products layered together. If your track plan is already busy, quieter scenery can help the railway stand out. If the track arrangement is simple, stronger landscaping can provide the drama.
This balance matters even more on smaller layouts. A micro layout with one well-shaped bank, a convincing backscene transition and a handful of carefully placed scenic details can feel larger than a crowded board packed with features.
Common mistakes when landscaping a layout
The most frequent problems are familiar: scenery applied before track testing is complete, colours that are too bright, identical grass across the whole board, slopes that are too steep, ballast that is too large, and structures that do not blend into the ground.
Another common issue is ignoring scale density. A tree armature that looks fine in your hand may be far too thick once planted. Likewise, clump foliage and coarse scatter can overwhelm N gauge and still look heavy in OO or HO if used without trimming or blending.
It is also worth checking your layout under normal room lighting, not just at the workbench. Scenic colours can shift noticeably. What looked subtle under a bright lamp may turn harsh or muddy in the layout room.
Work in stages and photograph as you go
Landscaping improves when you stop trying to finish a whole board in one push. Complete a small area, then assess it. Photographs are particularly useful because the camera shows flaws your eye starts to ignore. Gaps, repeating textures and abrupt joins become much easier to spot.
That staged approach also lets you refine your methods. The first field, cutting or yard surface teaches you what mix, colour and texture suit the rest of the layout. Few builders get their best scenic results by rushing straight to the final square foot.
The most convincing landscapes do not shout about the materials used to make them. They quietly support the story of the railway, the place and the period. If you keep asking what belongs here, what has happened here, and how the railway has shaped this patch of ground, the answers usually lead to better scenery than any shopping list ever will.
Related Posts

Comments (0)
Community Guidelines
Keep all comments friendly. Feedback should be constructive and no derogatory comments are tolerated.
Sign in to join the conversation
No comments yet
Be the first to share your thoughts!