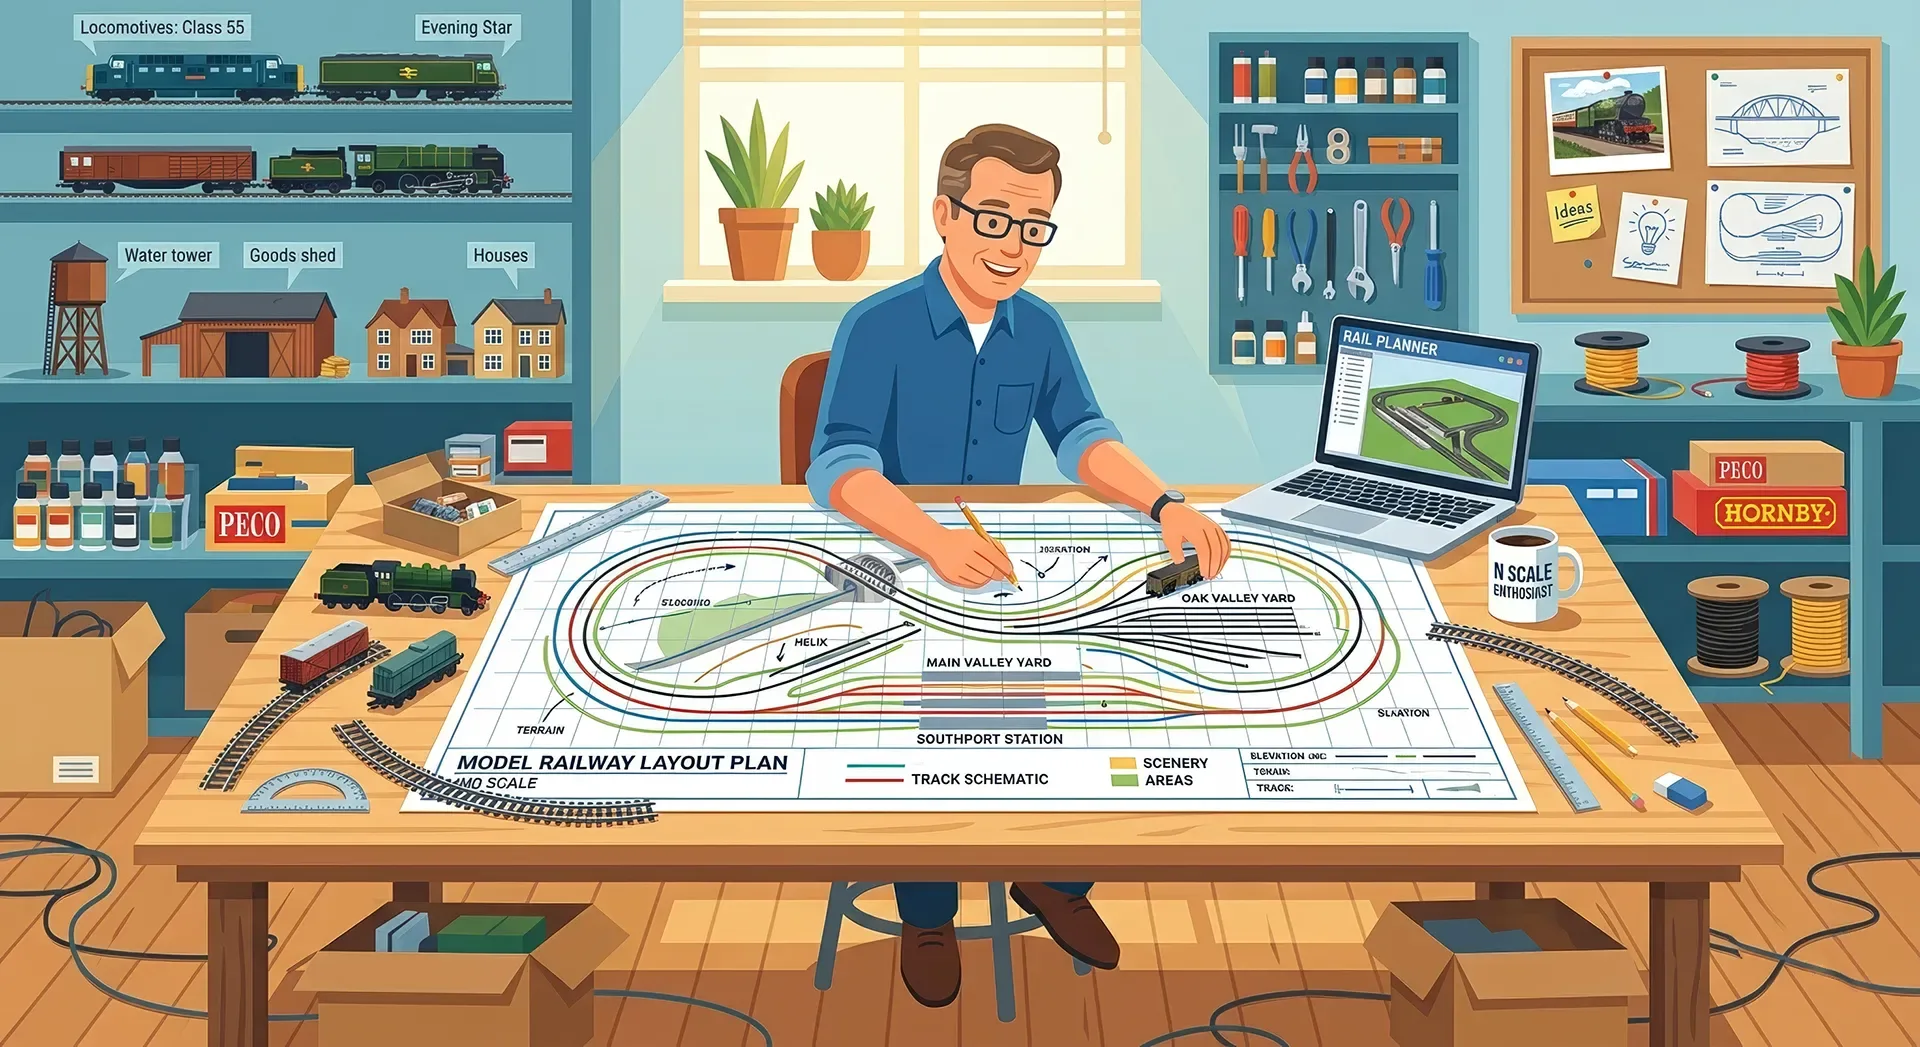
How to Plan a Model Railway Layout

The layout usually goes wrong long before the first length of track is pinned down. It starts with an exciting idea, a quick sketch, a few impulse purchases, and then the awkward realisation that the station is too long, the curves are too tight, or there is no way to reach the back corner when something derails. If you are wondering how to plan model railway layout projects properly, the good news is that most of the expensive mistakes can be avoided at the planning stage.
For most builders, layout planning is a balance between ambition and reality. You might want a sweeping main line, a busy goods yard, continuous running, realistic shunting and dramatic scenery, but your available space may only suit two or three of those well. Good planning is not about squeezing in every idea. It is about deciding what the layout is really for, and then making each design choice support that aim.
How to plan model railway layout goals first
Before drawing track plans, decide what kind of railway you actually want to run. That sounds obvious, but it is where many layouts become unfocused. A layout designed for watching trains circle the room is different from one built for timetable operation, branch line realism or exhibition-style scenic impact.
Start with a clear operating concept. You may want a compact shunting plank in OO gauge, a modern image depot in N, or a roundy-roundy family layout with two trains running at once. None of these is more valid than another, but each leads to different track geometry, board depth, scenic treatment and control choices.
Era and location matter too. If you are modelling BR steam in the 1950s, the track plan, structures and train lengths will not look or behave like a modern freight layout. Choosing your period early helps you avoid buying stock that does not belong together and gives the whole project a stronger identity.
Measure the room, not just the baseboard
A surprising number of track plans look fine on paper and fail in the real room. The space is not only the board size. It also includes door swings, radiators, windows, loft angles, garage access, storage, and your own ability to move around the layout comfortably.
Measure everything. Then think about viewing and reach. Most people struggle to work reliably beyond around 60 to 75cm from the front edge, especially once scenery and structures are in place. Deep boards may seem like a way to gain more railway, but they often create maintenance headaches.
If the room is shared, be realistic about how permanent the layout can be. A shelf layout around the wall, a fold-away board, or a series of portable sections may serve you better than a large fixed rectangle. The best plan is the one that can actually be built and enjoyed over time.
Access is part of the track plan
Hidden track, tunnels and fiddle yards all sound appealing, but they need access. If you cannot easily reach a point motor, a failed coupling or a stalled locomotive, that part of the layout will become frustrating very quickly. Planning access hatches, lift-out sections and removable scenery is not glamorous, but it is a mark of a mature design.
Choose a scale that suits the space
Scale is one of the biggest planning decisions because it affects everything from curve radius to scenic density. A room that feels generous in N gauge may feel restrictive in O gauge. Equally, a builder who loves super-detailing may prefer a smaller track plan in a larger scale rather than a bigger but more compressed design.
This is where honesty helps. If you want long express trains with broad curves and realistic station throats, smaller scales usually make that easier in domestic spaces. If your enjoyment comes from locomotive detailing, wagon weathering and slow-speed shunting, a compact OO or O gauge plan can be far more satisfying than trying to force a main line into too little room.
There is no perfect scale in the abstract. There is only the scale that fits your space, eyesight, handling preference and modelling goals.
Build the track plan around operation
The strongest layouts tend to have a reason for trains to move from one place to another. Even a simple continuous run can be made more engaging if there is a believable station, an industry, a branch connection or a hidden destination off scene.
Think about what happens during a session. Does a local passenger train terminate and run round? Do goods wagons arrive at a yard and get sorted? Does a DMU shuttle between two halts? If you can describe the railway in action, you are much closer to a workable track plan.
Too much pointwork is a common trap. A plan packed with sidings and crossovers may look busy, but often leaves little room for scenery and creates short, awkward operating moves. Fewer points usually mean better reliability, more convincing landscapes and a stronger sense of place.
How to plan model railway layout flow
A useful test is to follow the route of each train type you expect to run. Passenger, parcels, minerals, engineers, branch goods - however simple or complex your stock list is, map where each service begins, what it does, and where it ends. This quickly reveals whether the layout has enough purpose, enough storage and enough run length.
Fiddle yards deserve proper thought. They are not just off-stage storage. They are what make a layout feel connected to a bigger railway. A small scenic section with a well-designed fiddle yard will often provide more satisfying operation than a larger layout with nowhere realistic for trains to come from or go to.
Plan for reliable running, not heroic compromises
Track planning software and set-track catalogues can tempt you into using the tightest possible curves and the shortest point ladders. Sometimes that is necessary, especially on compact projects, but every compromise has a cost. Tight curves can look unrealistic with long coaches and may cause buffer locking or poor running. Complex point formations can become electrical and maintenance trouble spots.
If you already own stock, test your longest coaches, bogie wagons and locomotives against proposed geometry. If you are still buying, plan around the stock you intend to run, not the stock that happens to fit a very tight radius. A slightly simpler layout that runs flawlessly is far more enjoyable than an ambitious one that constantly needs intervention.
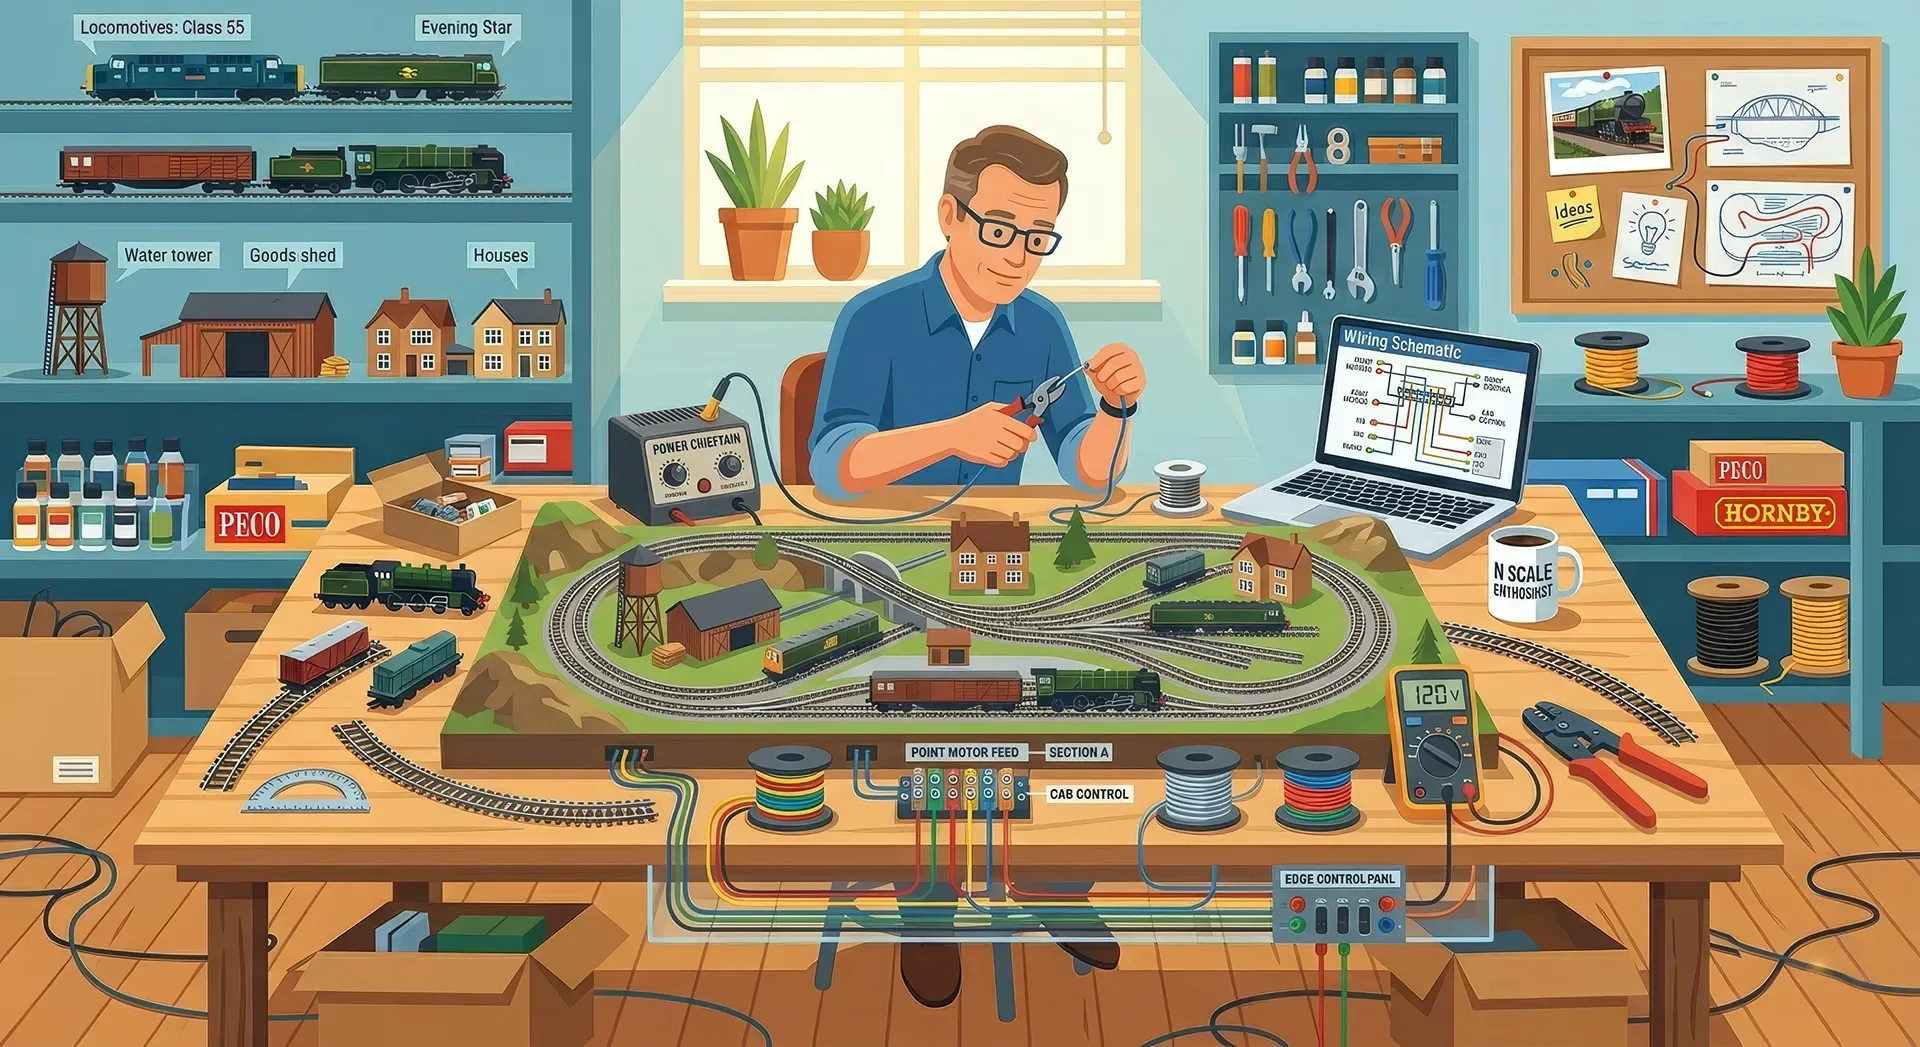
Also decide early whether you are building for DC, DCC or something more advanced with signalling and automation. Wiring needs, section breaks and accessory planning all flow from that choice.
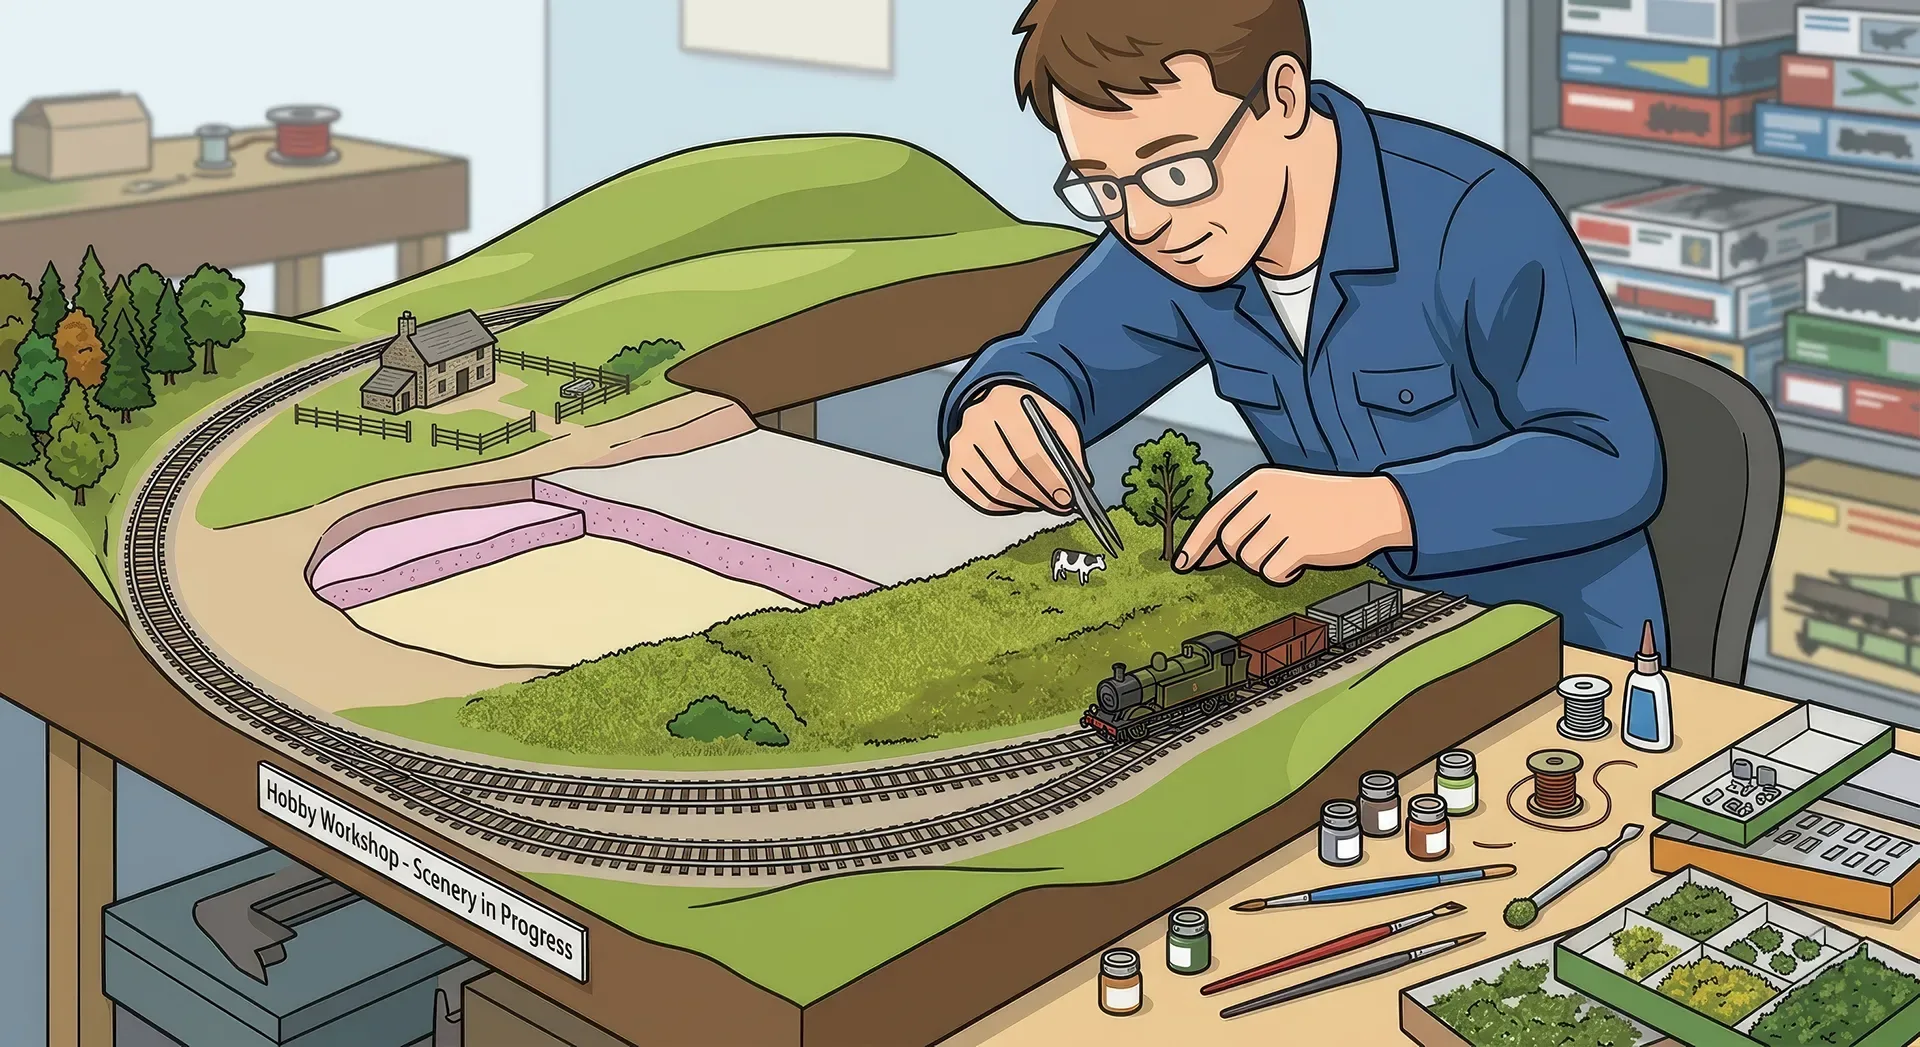
Leave room for scenery and structures
A railway looks more convincing when the trains belong to a place. That means planning the non-track elements from the start, not trying to squeeze them into leftover corners. A station platform needs length and width. A goods shed needs road access. A locomotive depot needs ash handling, fuelling or water facilities depending on era.
It helps to think in scenes rather than isolated features. What is the story of this area? A rural branch terminus will have different building spacing, road patterns and scenic horizons from an urban through station. Scenic planning also helps avoid the toy-like effect of track covering every inch of the board.
Vertical space matters as much as horizontal space. Embankments, bridges, cuttings and backscene breaks can make a modest plan feel larger and more believable. Even on a compact layout, changes in level can separate scenes and guide the eye.
Use examples, but do not copy blindly
Studying other builders' plans is one of the fastest ways to improve your own. Real layout galleries and build logs show what works in practice, not just what looks neat in a drawing. You can compare dimensions, gauge, control type and scenic style, then adapt the ideas that match your own goals. That is one reason community platforms such as ModelRailwayLayouts.com are so useful during the planning stage.
Still, copying a plan without understanding why it works can lead to disappointment. A layout designed for exhibition viewing may not suit home operation. A plan drawn for hand-built track may not translate neatly to proprietary geometry. Use inspiration as a starting point, then adjust for your room, stock and preferences.
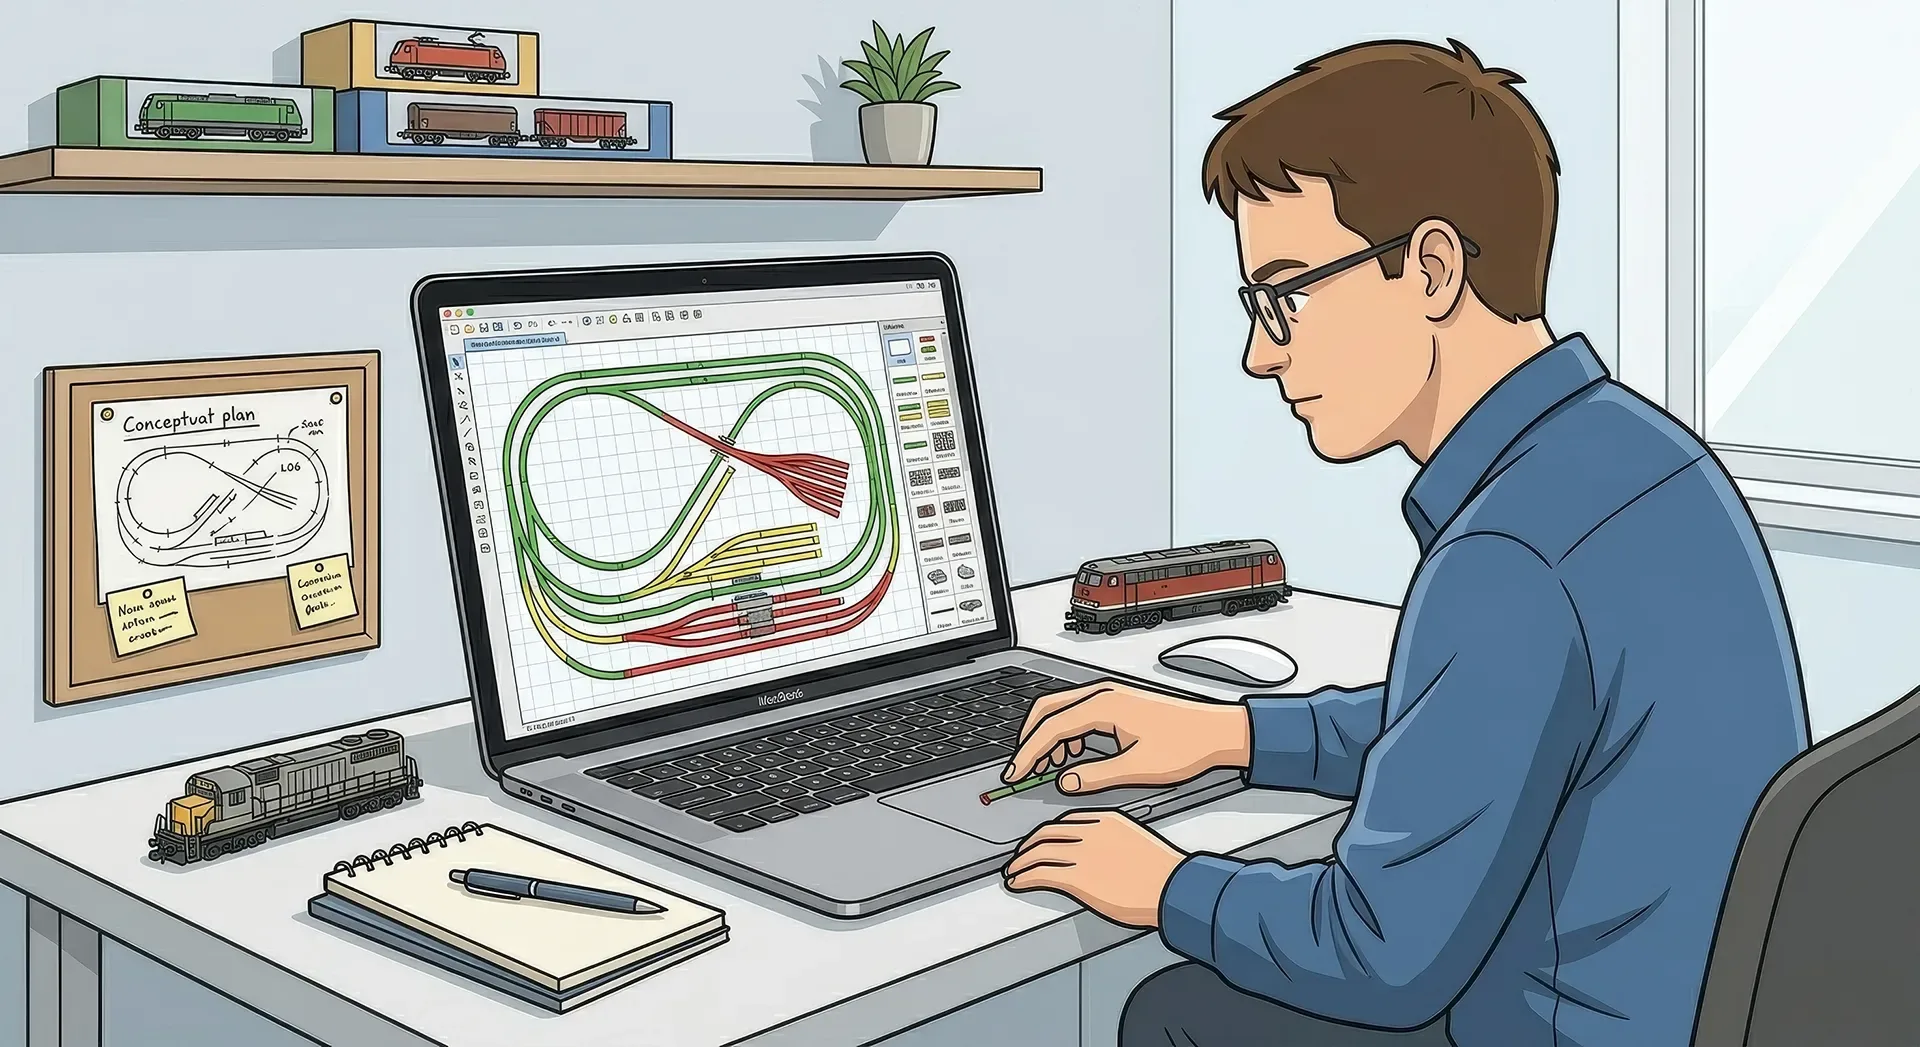
Sketch, test, revise
The first plan is rarely the best one. Good layout design usually comes from several drafts. Sketch by hand, use planning software if you like, and mock up key areas full size with paper templates or loose track. Seeing a station throat or yard ladder at actual size often changes your judgement immediately.
This is also the point to cost the project roughly. If the plan requires far more points, motors, baseboard timber or rolling stock than you can sensibly buy in the next year or two, scale it back. A layout with a clear first phase is often smarter than a grand design that stalls before trains can run.
Try to plan in stages. Get the baseboards built, the main line running, and the electrics dependable before chasing every scenic detail. Momentum matters in this hobby. Early progress keeps enthusiasm alive.
The best layout plans are not the biggest or the busiest. They are the ones that know exactly what they are trying to be, fit the available space, and leave enough flexibility for the builder to enjoy the process. If your plan gives you reliable running, believable scenes and a reason to keep coming back to the workbench, you are on the right track.
Related Posts
Comments (0)
Community Guidelines
Keep all comments friendly. Feedback should be constructive and no derogatory comments are tolerated.
Sign in to join the conversation
No comments yet
Be the first to share your thoughts!